

Why I Replaced my Oil Tank
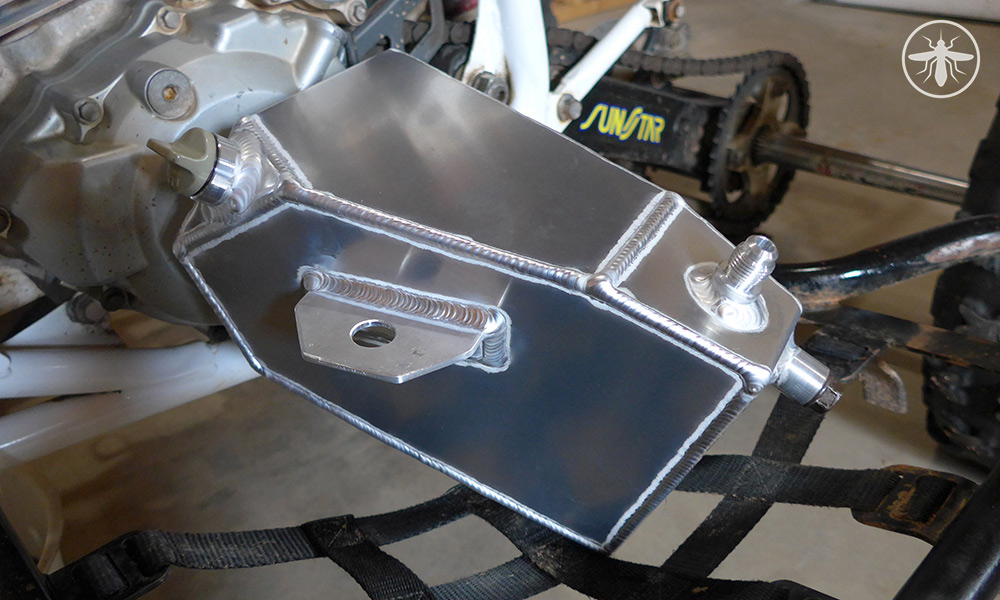
My stock oil tank was broken and I tried to repair it with JB Weld (I know, I know…). My repair was unsuccessful so I decided to upgrade to the CMF Performance Oversized Oil Tank (Made in the USA)
- Increases oil capacity by 1.25 quart (This is more than 50% of the stock oil capacity)
- CMF claims it’ll reduce operating temperature by 20°F.
- The build quality is excellent (beautiful welds!)
- It wasn’t much more expensive than a stock tank.
It’s easy to install with basic tools (wrenches & sockets). I documented my installation with pictures.
Notes: I chose to take off my plastics to take better/clearer pictures — You don’t have to take them off to install your tank. I didn’t replace my oil filter because I had already done it when I re-installed my “fixed” oil tank (I only drove about 2km before I noticed the oil leak). I suggest replacing the oil filter every time you do an oil change on your TRX400EX. Oh, and I’m far from being a mechanic.
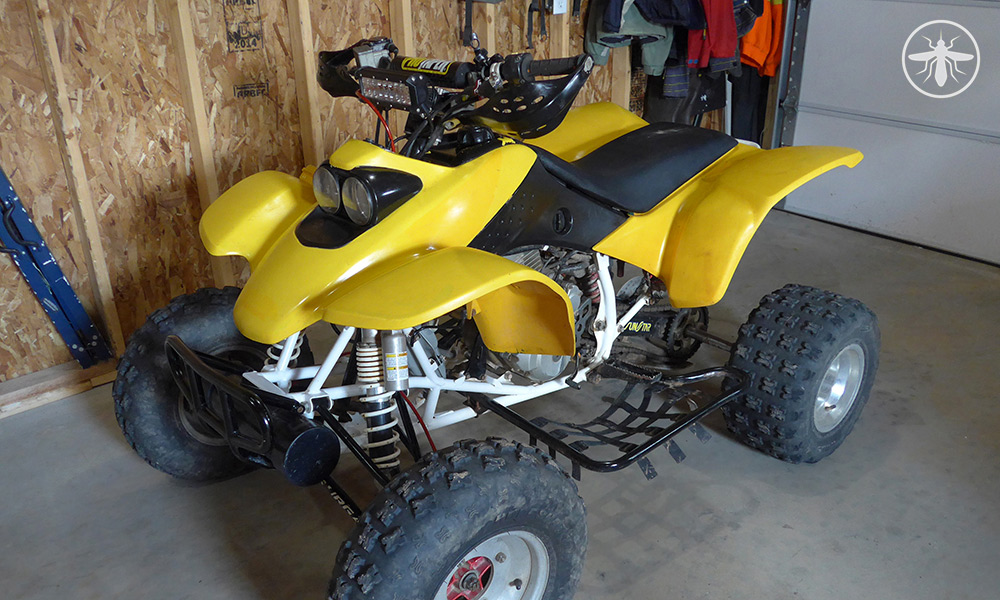
Start with a Clean Machine
I like to clean up the 4 wheeler before I start working on it. It just makes everything easier.
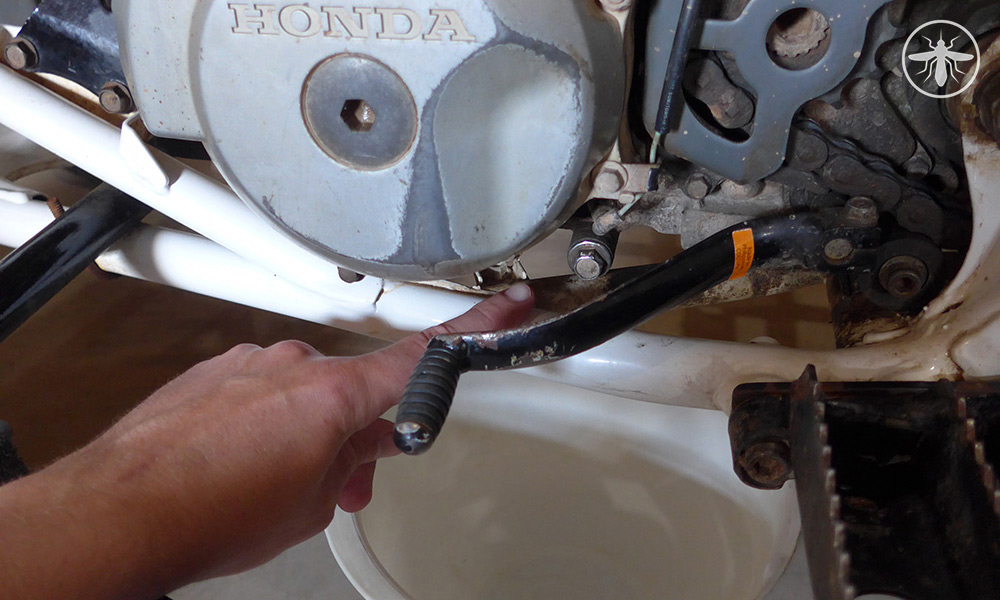
Step 1: Drain Engine/Tank Oil
Start by draining the oil completely. There’s a drain plug behind the shifter and one underneath the front oil tank.

After your oil is completely drained, it’s a good time to replace the oil filter.
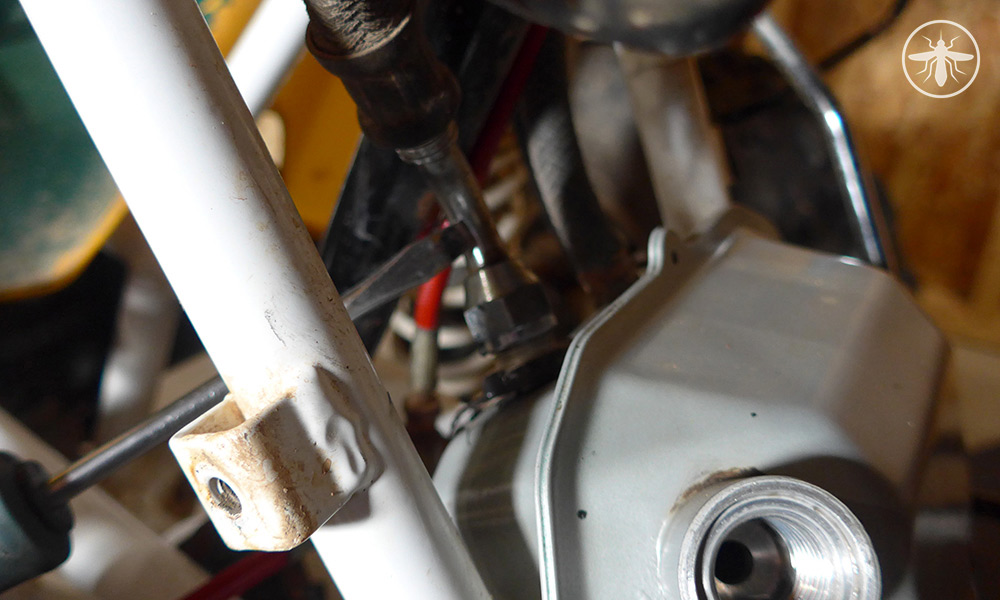
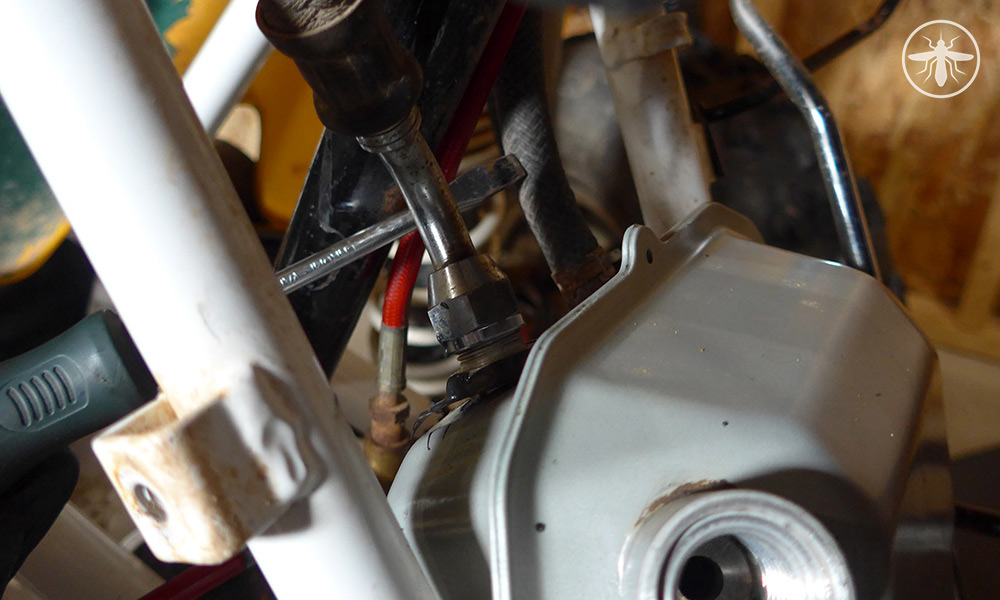
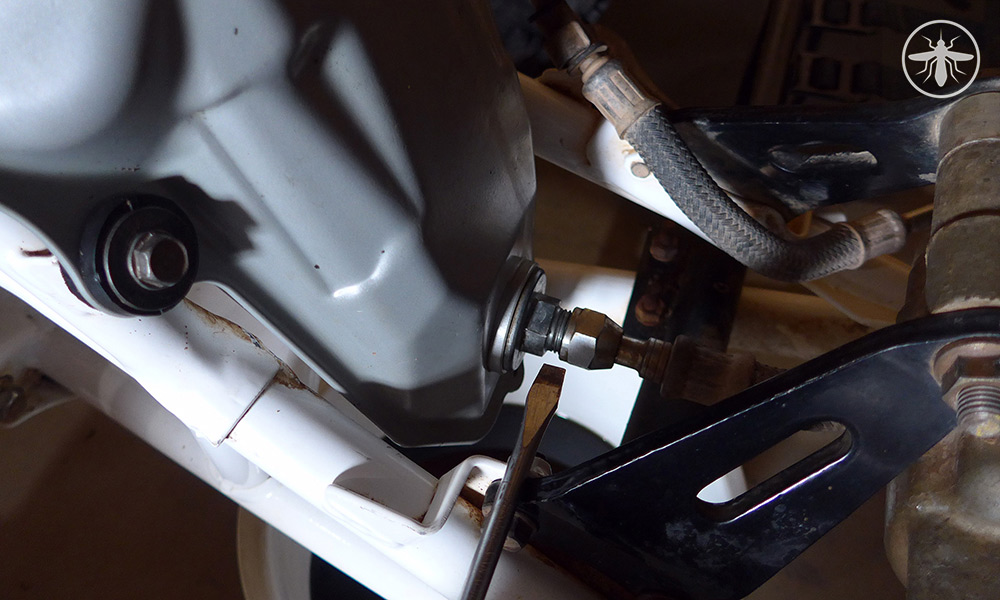
Step 2: Detach Oil Lines from Stock Tank
Start by taking off the 3 oil lines. They will be easier to remove if the tank is still secured to the frame. (Don’t forget your drain pan to reduce possible messes).
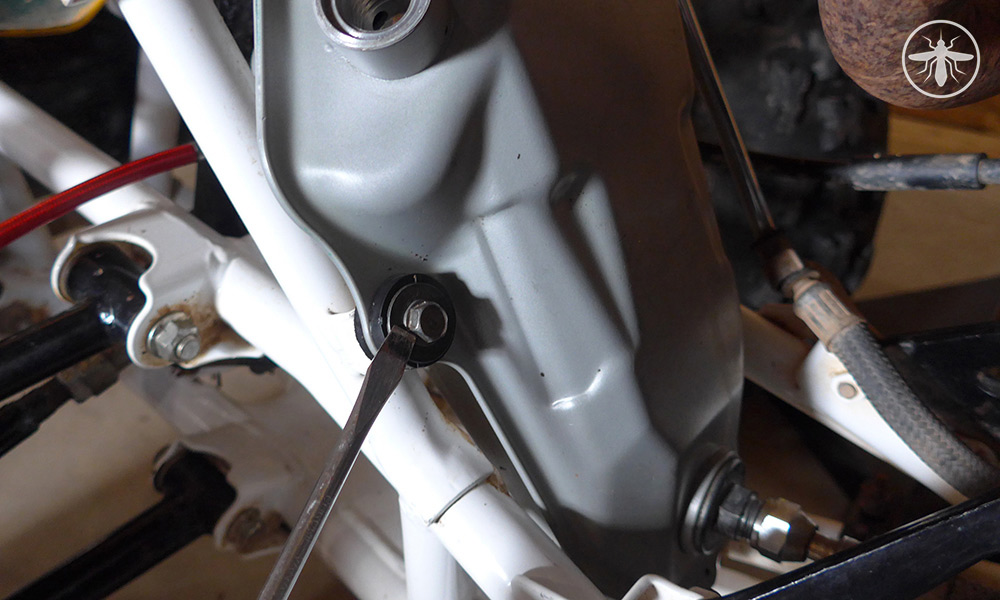
Step 3: Detach Stock Oil Tank
The stock tank is held in place with 2 screws (1 on each side). We’ll re-use the rubber grommets along with the metal washers to fasten the new tank so be careful not to lose them.
The tank can now be removed easily.
Step 4: Preparing the CFM Oversized Tank for Installation
Before installing the new tank, install the dip stick, bottom plug and rubber grommets on both sides.
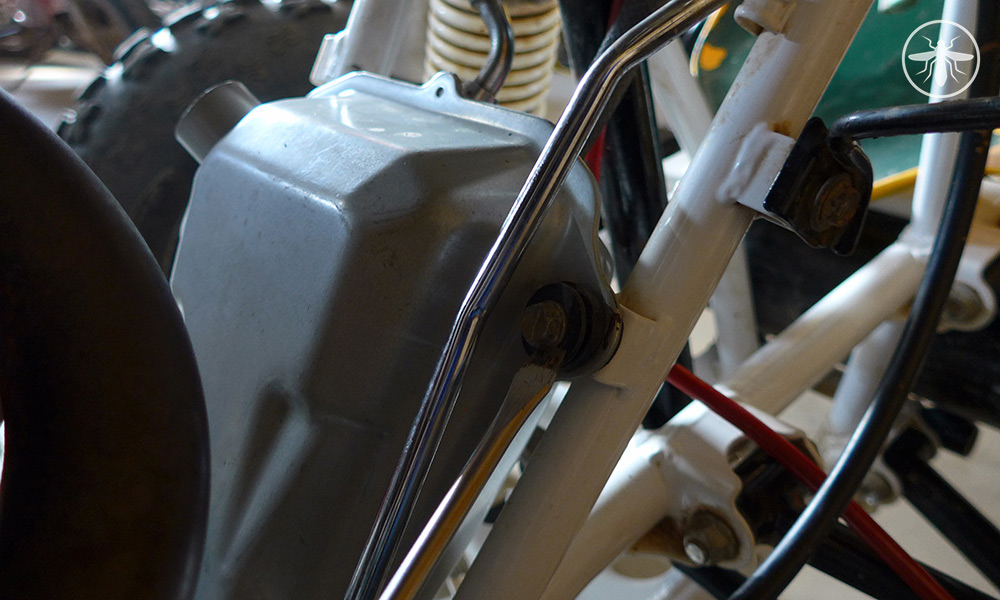
Step 5: Installation
Position the tank being careful not to bang it around too much. Once the bottom portion of the tank is properly inserted the large rubber support (the rubber goes around the drain plug), align the sides and install the 2 screws.
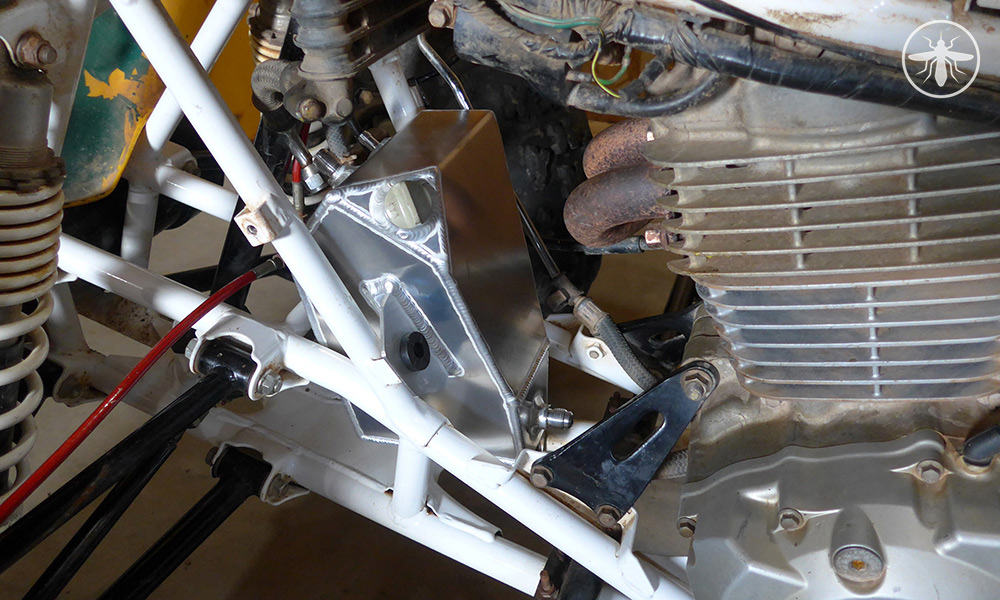
After the tank is secured, install the 3 oil line on the tank.
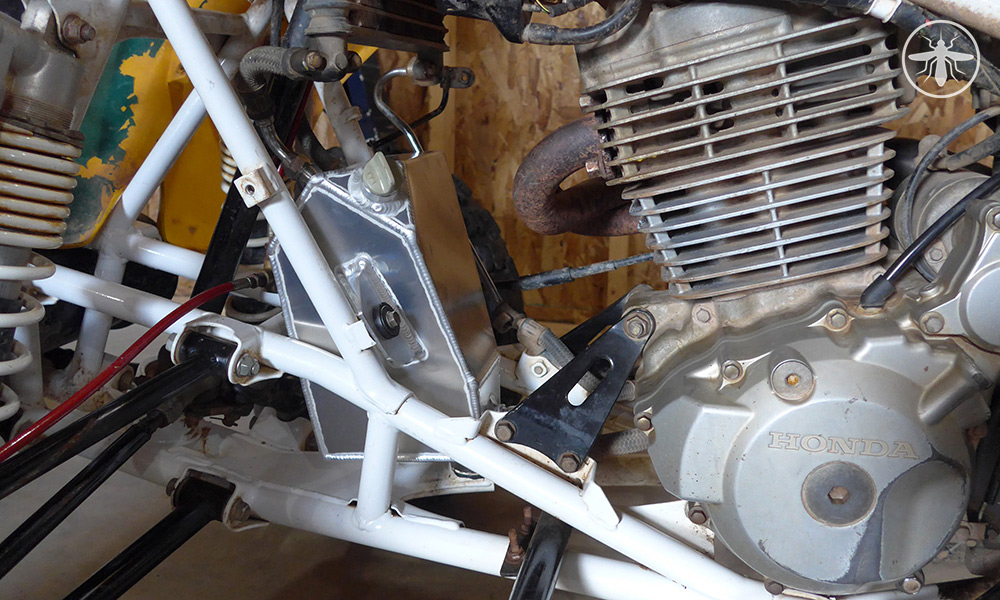
Your tank is officially installed. Don’t forget to put back your engine drain plug before you start pouring in fresh oil!

Step 6: Go for a Ride!

Purchase your TRX400EX CFM Performance oversized oil tank here on ebay, or check out this other crazy tank for extra cooling!